Showing posts with label building. Show all posts

Friday, January 27, 2023

Bite-Sized Blender Classes Now Offered @ Builder's Brewery!

Builder's Brewery
Hello, all!

As a long-time group member of Builder's Brewery, I just happened to see an interesting notice this past week about bite-sized Blender classes now being offered for free!  Making mesh is pretty much the bread and butter of any designer who wants to create the most desirable things in SL (and, of course, it's super cool that you can now utilize mesh locally).  ...So, of course, I had to check it out, and I can say now that I think you should too!  :D  

Blender Benders


As you may know, I had been trying for a long time to be a part of the Blender Benders classes, but have always seemed to find it way too overwhelming and inconvenient (despite those teachers being uber nice by offering to somewhat work with me on a reasonable, individual basis, and allowing me to make up classes).  See, their classes start during the holidays, and not only do I work retail, but that's usually the time I have to fill out a massive recertification packet... Blech.  I have tried taking the very first class a few times now, and cannot think of anything to do with Suzanne, other than smashing her into bits and pieces, LOL!  ...So I thought to myself, "Why not try the Builder's Brewery classes, and then once that's set, if I still want, I can go back to Blender Benders?"  \m/


Blender
I don't have any regrets!  The Builder's Brewery 1st class is EXTREMELY easy.  Everyone is literally just figuring out how to maneuver their creations inside the Viewport and learning the terminology.  That's it!  It's about an hour and 1/2.  And you learn the correct way to upload your very first Blender cube!  ...Easy-peasy!

When you go to the Builder's Brewery landing point, make sure to join their group and touch their sign about Bite-Sized Blender classes, so you can get a very informative folder with some information that may look very much like mine...

This first NC is put together by Forth Shepherd and is called "Bite-sized Blender: Frequently-Asked Questions"

~~~~~~~~~~~       BITE-SIZED BLENDER FAQs     ~~~~~~~~~~~~~

The new series of BITE-SIZED BLENDER classes will begin at the Builder's Brewery in January 2023. 
Read on to learn more about them.

1. WHAT IS BLENDER?
Blender is the software commonly used to create mesh objects for use in Second Life. It is available for download free of charge at https://www.blender.org/download.
Blender is a powerful package with a big learning curve. At Builder's Brewery, we offer classes at several different levels for anyone who wants to learn to use Blender for their own creations.

◆  ◆  ◆  ◆  ◆  ◆  ◆  ◆  ◆  ◆  ◆  ◆  ◆  ◆  ◆  ◆  ◆  ◆  ◆  ◆  ◆  ◆  ◆  ◆  ◆  ◆  ◆  ◆  ◆  ◆  ◆  ◆  

2. WHAT IS BITE-SIZED BLENDER?
Bite-sized Blender is a new set of lessons at Builder's Brewery, suitable for anyone who has never used Blender before.
We have divided these Beginners' lessons into several small independent units, which you can take at any time.

◆  ◆  ◆  ◆  ◆  ◆  ◆  ◆  ◆  ◆  ◆  ◆  ◆  ◆  ◆  ◆  ◆  ◆  ◆  ◆  ◆  ◆  ◆  ◆  ◆  ◆  ◆  ◆  ◆  ◆  ◆  ◆  

3. WHAT UNITS ARE IN BITE-SIZED BLENDER?
There are units at three levels.
Level 1: 
101: Make and upload simple geometrical models (three lessons)
102: Add lighting to a model (two lessons)
After completing both units, you receive the Builder's Brewery Blender Level One Certificate of Achievement

Level 2:
201: Settings and preferences in Blender (one lesson)
202: Model a curved vase (two lessons)
203: Unwrap and add lighting (one lesson)
204: Add a texture and bake to prepare for upload to SL (one lesson)
205: Upload your model to SL and set its Levels of Detail (one lesson)
After completing all units, you receive the Builder's Brewery Blender Level Two Certificate of Achievement

Level 3:
301: Make a patio table with metal legs and a marble top (eight lessons)
After completing 301, you receive the Builder's Brewery Blender Level Three Certificate of Achievement

◆  ◆  ◆  ◆  ◆  ◆  ◆  ◆  ◆  ◆  ◆  ◆  ◆  ◆  ◆  ◆  ◆  ◆  ◆  ◆  ◆  ◆  ◆  ◆  ◆  ◆  ◆  ◆  ◆  ◆  ◆  ◆  

4. WHAT DO I NEED BEFORE I CAN START BITE-SIZED BLENDER LESSONS?
Before starting these lessons, you should do two things.

A. INSTALL BLENDER ON YOUR HOME COMPUTER
    1. Open your browser to download the file via this link...  
    2. If you're running Windows 10 or 11, get the INSTALLER version (it's an .msi file), not the Portable (.zip). 
        Mac users are ok to download from the main download page.
    3. When the download is complete, use it to install Blender.
        Open Blender and check that you see the splash screen, like this
(This link shows the splash screen for Blender version 3.3.1. If you are using a different version, it will look a bit different.)

B.  GET PERMISSION TO UPLOAD MESH OBJECTS TO SECOND LIFE
    1. Check your account on the SL website (go to Account -> Mesh Upload Status).
    2. Follow the steps as shown, until you see this on your Mesh Upload Status...

◆  ◆  ◆  ◆  ◆  ◆  ◆  ◆  ◆  ◆  ◆  ◆  ◆  ◆  ◆  ◆  ◆  ◆  ◆  ◆  ◆  ◆  ◆  ◆  ◆  ◆  ◆  ◆  ◆  ◆  ◆  ◆  

5. DO I NEED TO TAKE THE UNITS IN ANY PARTICULAR ORDER?
You can take any unit whenever it is being taught, but you should not take a unit unless you have already taken the necessary preceding units. 
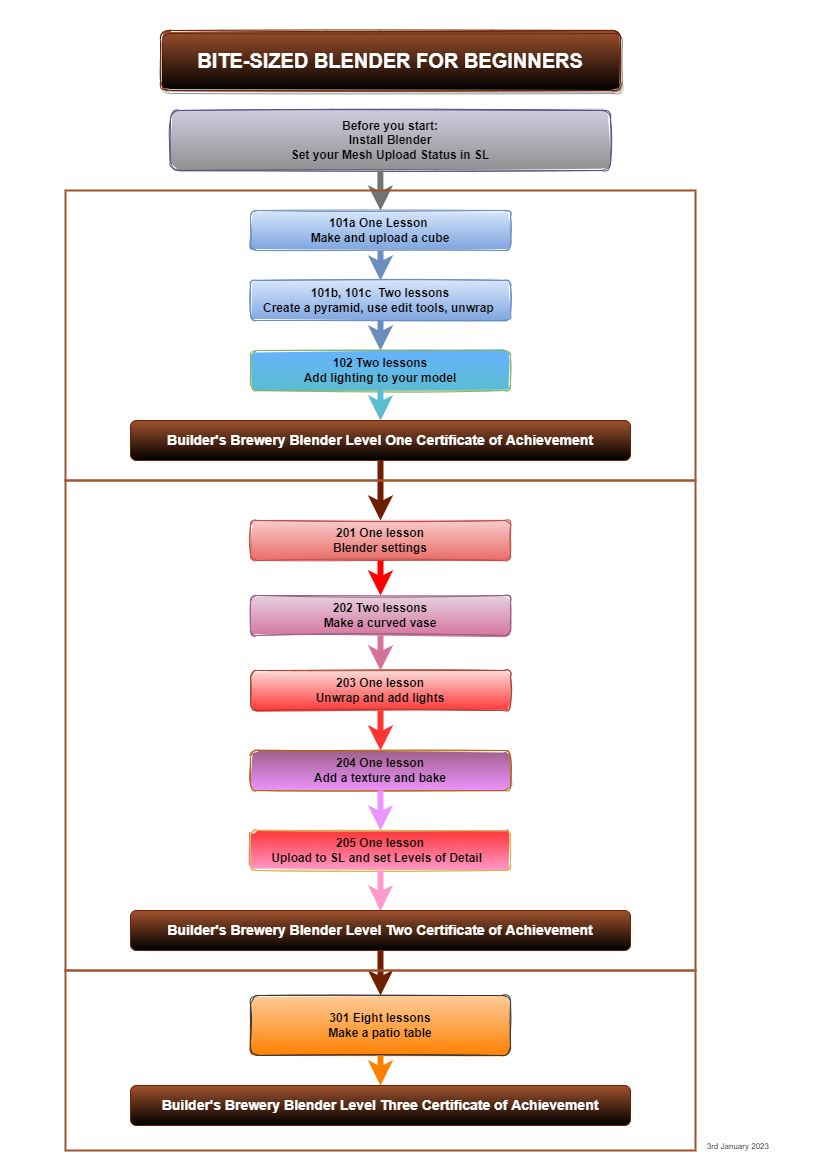
This diagram shows the sequencing of units which you should follow.

Bite-Sized Blender Flowchart
The diagram is also available at 
https://forth.sugarbowl.site/Info/Bite-sized-Blender_Flowchart.png

◆  ◆  ◆  ◆  ◆  ◆  ◆  ◆  ◆  ◆  ◆  ◆  ◆  ◆  ◆  ◆  ◆  ◆  ◆  ◆  ◆  ◆  ◆  ◆  ◆  ◆  ◆  ◆  ◆  ◆  ◆  ◆  

6. WHO WILL TEACH THE BITE-SIZED BLENDER UNITS?
The units will be taught by the Builder's Brewery team of Blender teachers, led by Rain Alderbury. 
All teachers have had to pass Builder's Brewery quality control to ensure the quality of teaching.

◆  ◆  ◆  ◆  ◆  ◆  ◆  ◆  ◆  ◆  ◆  ◆  ◆  ◆  ◆  ◆  ◆  ◆  ◆  ◆  ◆  ◆  ◆  ◆  ◆  ◆  ◆  ◆  ◆  ◆  ◆  ◆  

7. WHEN WILL THE BITE-SIZED BLENDER UNITS BE TAUGHT?
To maximise their availability, we will teach the units as often as is feasible, and at as many times of day as possible. 
For more information:
> ask Rain Alderbury or Forth Shepherd
> or look at the Builder's Brewery calendar at http://www.buildersbrewery.com/calendar/index.php 

◆  ◆  ◆  ◆  ◆  ◆  ◆  ◆  ◆  ◆  ◆  ◆  ◆  ◆  ◆  ◆  ◆  ◆  ◆  ◆  ◆  ◆  ◆  ◆  ◆  ◆  ◆  ◆  ◆  ◆  ◆  ◆  

8. HOW CAN I LEARN MORE, AFTER COMPLETING THESE UNITS?
After completing the Beginners' units at Levels 1, 2 and 3, you will be able to progress to the Intermediate Blender lessons at Builder's Brewery.

◆  ◆  ◆  ◆  ◆  ◆  ◆  ◆  ◆  ◆  ◆  ◆  ◆  ◆  ◆  ◆  ◆  ◆  ◆  ◆  ◆  ◆  ◆  ◆  ◆  ◆  ◆  ◆  ◆  ◆  ◆  ◆  

9. WHAT IS THE COST OF THESE CLASSES?
All classes at the Builder's Brewery are free of charge. 
However, we do incur costs in running these classes, particularly in maintaining the webserver which holds all of our class materials, and so we welcome contributions towards these costs from those who are able to do so.

3rd January 2023


The next NC is put together by Rain Alderbury and is called "Bite-sized Blender: Schedule Dates and Times 2023 (rev3)"

   ***** Bite-Sized BLENDER Schedule *****
   
   For an up-to-date schedule, 
      be sure to refer to the main Builders Brewery Class Schedule at:
   https://www.buildersbrewery.com/calendar/
      You may have to use this link:
   https://calendar.google.com/calendar/embed?src=buildersbrewery@gmail.com

Teachers:
Forth Shepherd's Profile Pic Rain Alderbury's Profile Pic Winter Ravenheart's Profile Pic
Rain Alderbury
Winter Ravenheart

Lesson 1 (101a):
   Saturday January 21st @ 3:00pm SLT 
   Teacher: Winter  
   Thursday February 2nd @ 7:00am SLT 
   Teacher: Forth

Lesson 2 (101b - part 1):
   Saturday January 28th @ 3:00pm SLT
   Teacher: Winter 
   Thursday February 9th @ 7:00am SLT 
   Teacher: Forth
      
Lesson 3 (101b - part 2):
   Saturday February 4th @ 3:00pm SLT
   Teacher: Winter 
   Thursday February 16th @ 7:00am SLT 
   Teacher: Forth
      
Lighting Lesson 1 (102 - part 1):
   Saturday February 11th @ 3:00pm SLT (to follow Winter's classes)
   Saturday February 25th @ 7:00am SLT (to follow Forth's classes)
   Teacher: Rain
   
Lighting Lesson 1 (102 - part 2):
   Saturday February 18th @ 3:00pm SLT
   Saturday March 4th @ 7:00am SLT
   Teacher: Rain
   
After 102 is successfully completed, you graduate to Level 2, 
and begin with class 201. 
Congratulations !
Level 2 classes will start during March. 
Check the enclosed flowchart diagram for all classes, 
and the official Builders Brewery calendar for calendar dates and changes.

:)

You also get your very own texture copy of the "BlenderForBeginners Flow Chart" as seen in the 1st NC.  And you get your very own LM too!  ...I hope to see you there!  :D  \m/

Friday, April 15, 2022

Triple Threat

So I've done 3 things that have improved my SL and I thought I'd share them with you.


Firstly, I have cloned myself.  xD
I cloned myself
...And this did come in handy so far, actually.  I was able to sell some Amaretto horses inworld, while I was busy, mainly doing other important things!  ;)  \m/  <º))))><.·´¯`·. .·´¯`·.><((((º>  ♥


And then, secondly, I've also been working on my inventory.  The object of that sport is to condense things as much as possible and to make those inventory #'s go down.  So far, so good.  Just not enough time (and I wish that the clone could somehow help with that)!  xD

But anyway, here's how I do it (with intentions to sell this idea as a possible kit in the future, but IDK, we'll see)...

Organizing/Boxing Inventory, 1


For example...

Here I have a FF folder from 2019 of objects that I just refuse to get rid of (mostly because they were just *SO* fun to collect).

...They're a bunch of mystical freebie card objects!


Organizing/Boxing Inventory, 2


...And here, I have a simple box I made with a float text script (usually placed by my posing stand, as I always seem to be boxing up new purchases)...


Organizing/Boxing Inventory, 3


Now, I will shift-drag a copy of this box up.  This preserves the original box, as I will be immediately working on the copy.


Organizing/Boxing Inventory, 4

...Back to my inventory, I will copy the name of the folder containing the hoarded inventory item, to rename the box...

In this case, I will be naming the box "18."


Organizing/Boxing Inventory, 5

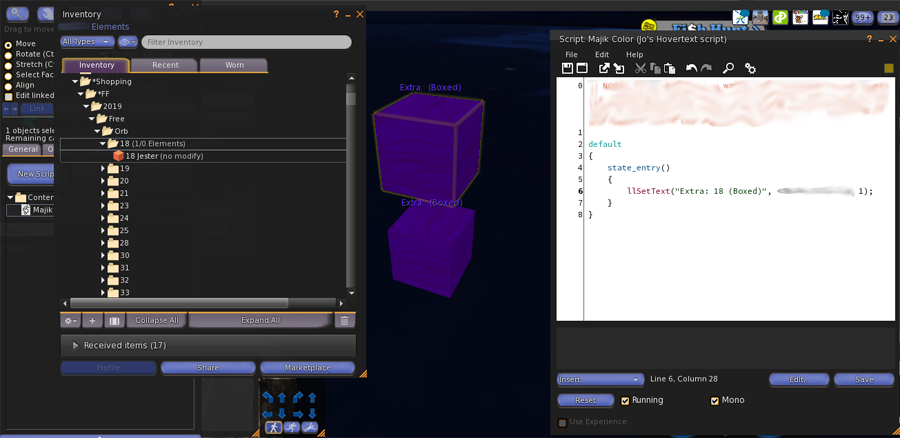
Now I will rename the float text in the script, to that inventory folder's name that I copied.  Float text makes this easier to know what it is, if you drag it out of inventory, or even out of its Matryoshka boxes, later.

I like my boxes to always be ready to be named, so their stencil title is, "Extra: _insert-name-here_ (Boxed)" (with, of course, the "insert-name-here" being just some blank spaces to easily overwrite).  

And since I want to refer to this box as the inventory folder named "18," that is the name I will stick in there, then.  :)

See?

...Don't forget to save the script!

Organizing/Boxing Inventory, 6


Now I can delete the hovertext script to save on lag (because once hovertext occupies a prim, it won't go away unless you save the hovertext script again as blank between the quotes)!


Organizing/Boxing Inventory, 7


Now I can rename the box, itself, to the inventory folder item I wanted to save it as (which would also be "18").


Organizing/Boxing Inventory, 8


Now I can go back to the Content part of my storage box's Build Window, drag my item from my inventory, and place it in there.


Organizing/Boxing Inventory, 9


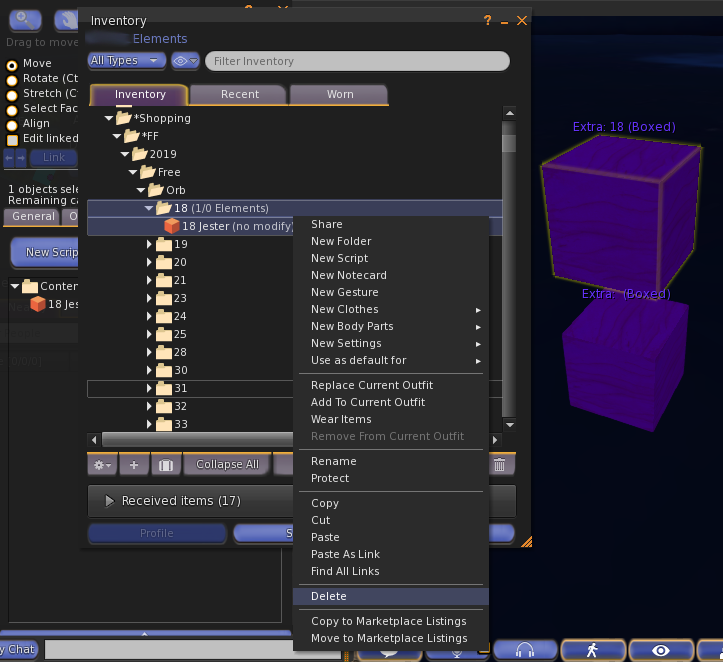
Now I can delete this object from my inventory, because I have saved it in the box, inworld...


Organizing/Boxing Inventory, 10


"Take" the box from inworld, into inventory, then go to "Recent" Tab in inventory, right-click "Cut" it...


Organizing/Boxing Inventory, 11


...Now I can "Paste" it into the folder I want it in (as you can see, it ends up at the bottom of a very HUGE folder)...

...But if we keep going and repeat this boxing method... 

That HUGE folder will eventually be cut down to ONE box (and get closer to my ultimate goal in decreasing those inventory #'s!)...


Organizing/Boxing Inventory, 12


It's as simple as that... I just keep boxing, taking, deleting, moving...


Organizing/Boxing Inventory, 13


...And I start ending up with a lot more boxes than I do folders, seeing a bit of a light at the end of the tunnel...


Organizing/Boxing Inventory, 14


...Until, eventually, comes the time when I can box all these boxes, into the main "Orb" box!


Organizing/Boxing Inventory, 15


Phew!

...Now, I have a bunch of boxes in this folder, pretty much (stuff I've boxed, or original boxes stuff came in)!

...I'm going to keep on boxing, taking, deleting, moving...


Organizing/Boxing Inventory, 16
...And voila! 
 
See how clean this makes one's inventory folders now?  :D  \m/


It may take a bit of patience, but I really don't want to delete anything I already have (I was one of the lucky ones who happened to save a shit-ton of great things when LL gave us BoM).  I'm just simply condensing my inventory.  And then, that way, if I ever want to take it out and play with it again, I still have it!  ;)  \m/  

The reason why you want to condense your inventory, is that it seems to cut down on lag (the tax of your equipment), especially when you go out with a bunch of other avatars to enjoy things.  As Lindal Kidd may have once mentioned in her blog, imagine carrying around 85k items with you, whenever you TP somewhere!  Taxing, yes!  May even end up in crashing!  ...And all those other avatars your graphics card has to render (individual textures, mesh, etc.)?  Whew, boy, the complexity!  :p  So, boxing up your inventory is likely the least of all evils  ...I am actually very grateful that newcomer-friendly places are teaching this!  Thank you very much, Tyna Avonside!  \m/


Now, thirdly (and I saved the best for last), I have upgraded my skybox after all these years!  ...I know, right?!  ...I cannot even begin to tell you what a great improvement this does for one's self-esteem!  xD

---> My original skybox, for many years (1 prim dome) (that you may have seen boring glimpses of in the previous pix).

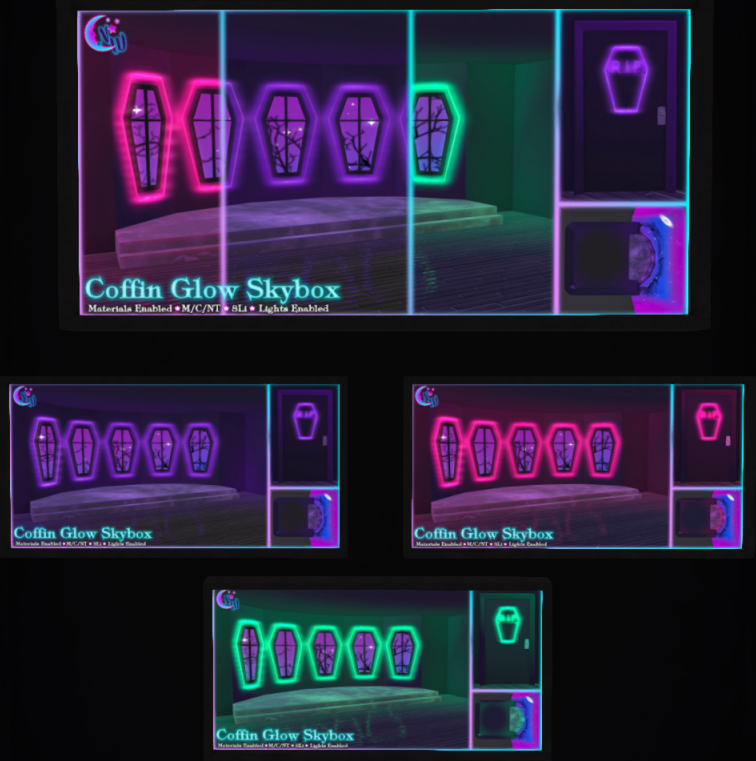
Now, for my upgraded skybox, I combined two skyboxes from NeverWish...!  :D  \m/  ...Because I just l♥ve things that glow, oh, so pretty, in the dark!  ...You may remember how awesome Pixie Ruby, the Owner of NW, is ---> from my last FF blog.  :)  ...I just kept hanging out at NW, inworld, until I came up with the idea to merge the most perfect 2 skyboxes, that I couldn't decide between, together!  xD
Of course, my first inspiration was this:
Ruby Pixie - Coffin Glow Skybox

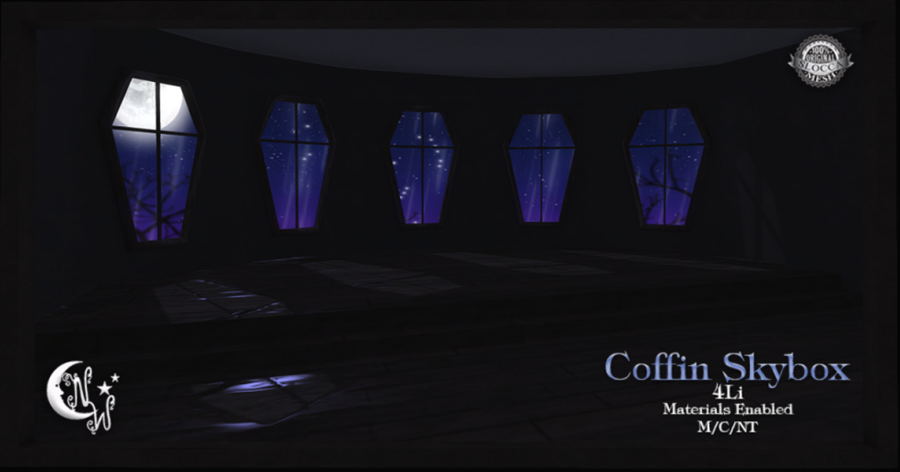
But she also has it available without the glow:
Ruby Pixie - Coffin Skybox
...I prefer to buy things inworld, but ---> here they all are on MP, if you want.

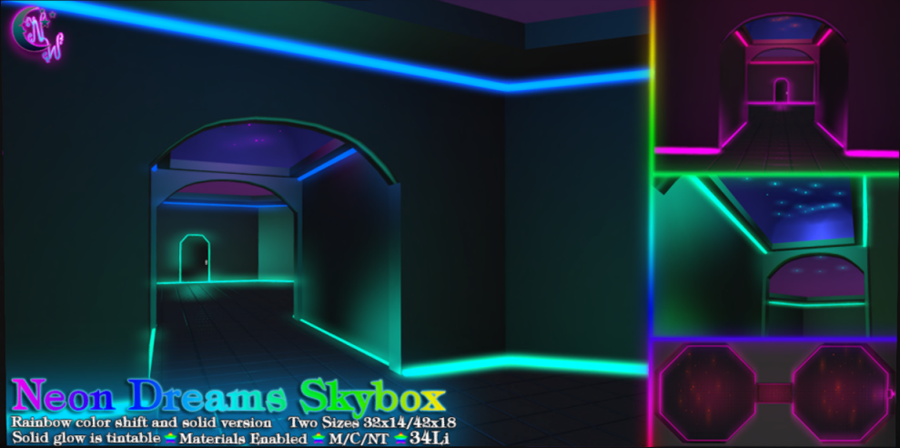
And then, my second inspiration was to make this an addition to the Coffin Glow Skybox, much like a 2-story house:
Ruby Pixie - Neon Dreams Skybox

I prefer to buy things inworld, but ---> here it is on MP, if you want.

...Did I mention that you can even see demos rezzed inworld @ NW too?
Ruby Pixie - Inworld Skybox Demo

...And even visit the inside of them?!

Ruby Pixie - Inworld Skybox Demo, Inside


...Also, before I did anything, I asked Pixie how easy these skyboxes would be to modify, trying to figure out if I could work with them or not, before I actually dropped L$ (as I have a REAL "I'm spoiled" spending problem, that can very easily get out of control ...and one day I may need to curb, LOL!)...

Ruby Pixie - Gyazo 1

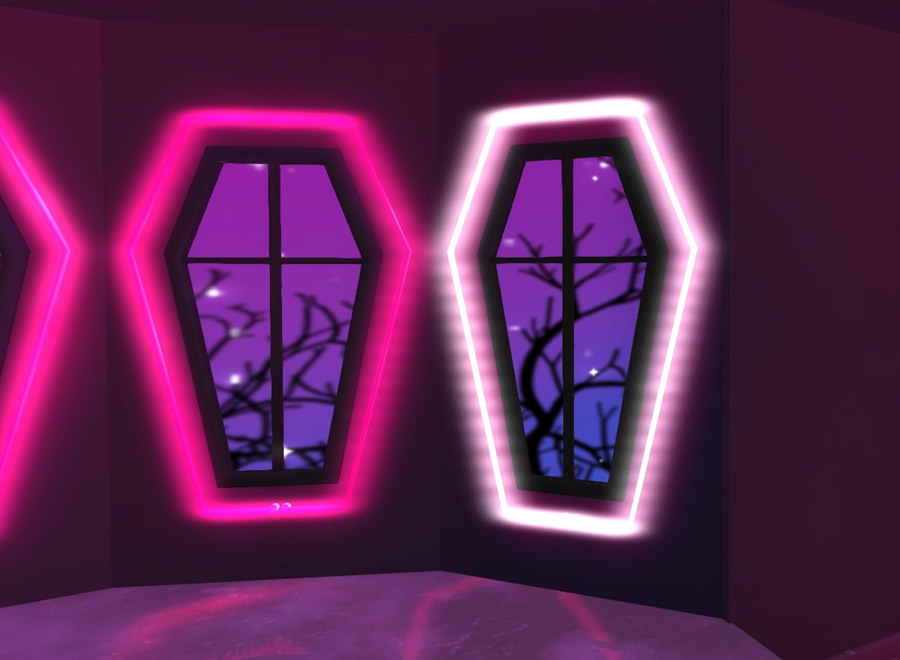
...Because, surprise, surprise, I fell in love with ALL the glow colors (not just purple), and was trying to figure out if it would be possible to change the glow color (if I bought just one skybox version, instead of the fatpack)!  Pixie showed me a Gyazo (seen above) and explained that you can remove the neon texture and then tint it, and that some of the glow effects will still be there, but then, "it's not super baked in."  Her Gyazo shows what it looks like without the neon texture, if I wished to later tint it  ...I noted this, to try experimenting with later, perhaps...

Ruby Pixie - Gyazo 2
Pixie also wasn't sure if I had the ability to link the two skyboxes, but she showed me another Gyazo of the walls kinda broken apart, so I could get a better idea.

She also explained that she was making another skybox available for sale soon too ("more hearts, and not so dark," as Valentines' Day was fastly approaching), if I wanted to wait and see what that may be like.  Unfortunately (and understandably), she's a bit too overwhelmed in RL to be able to do customs at this time... However, she was nice enough to let me know what was going on, and therefore helped me make the best, most educated decision for upgrading my skybox (for like, the first time, EVER)!  xD

Eventually, after a few more days of hemming and hawing, I did finally bite the bullet, and bought BOTH these skyboxes.  I kinda figured I had nothing to lose.  Rez2 is pretty darn helpful in un-linkable situations, and I like a good, worthwhile challenge anyway!  ;)  ...And I gotta tell you, all in all, this was a WAY fun build to do!!!  I'm absolutely fascinated by how these mesh pieces can have alpha parts to them and end up looking so great when you cam out (like, you wanna see your avatar in a Gothic doll/play-house very easily?  --This is it, look no further, be in love)!  xD

Just about the only trouble that I seemed to run into, was needing to cut a hole into the Coffin Glow Skybox floor for a staircase... But all I had to do was offer to buy the texture from Pixie, and she was just so darn, NICE AS EVER about it (thank you, thank you, hun)!!!  <--xoxo--<<  !  ♥

...I actually didn't think I would be blogging about this (as I didn't trust my building skills enough to handle writing/taking pix at the same time), but at least now, I can give you the final tour of my new and improved skybox...  :)

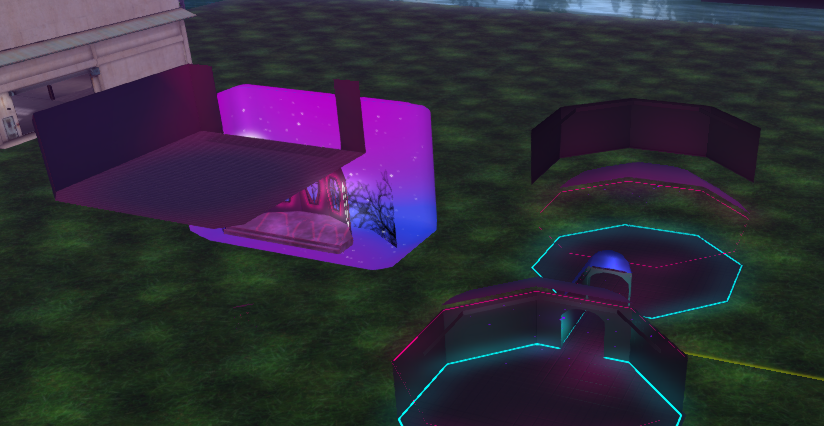
Skybox, Outside
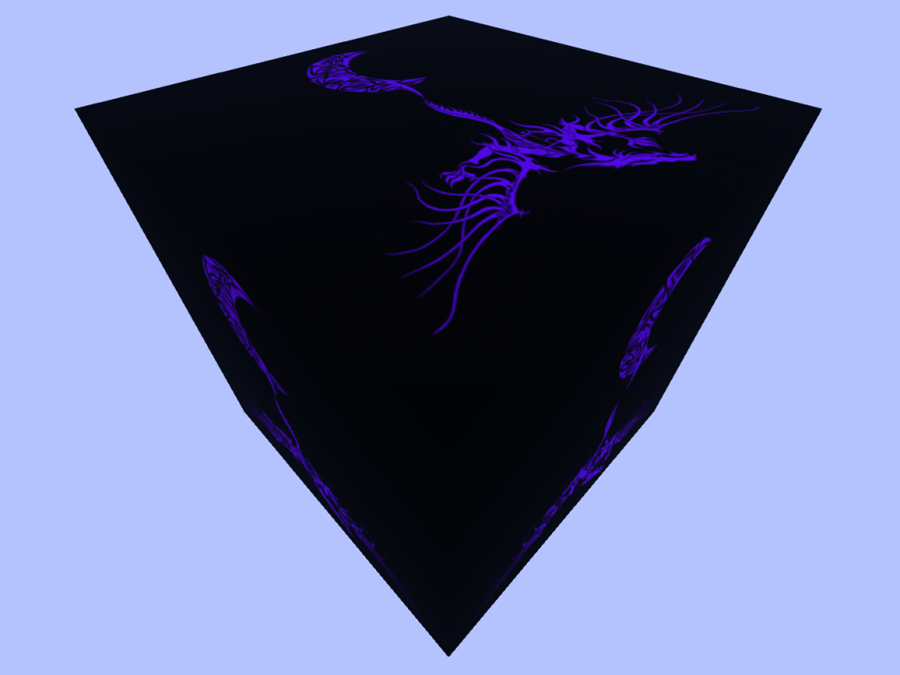
Here I have my favorite, 1 prim Skybox box, that I have adorned with Zamargad textures, on the outside.

Skybox, Inside
Camming in a bit, you can see that the inside of that box is decorated with a seamless sorta nebula sky.  And that Pixie's NW Coffin Skybox is the 2nd story, on top of her NW Neon Dreams Skybox.  :)

And I was, I was able to link everything that I wanted to.  And unlink, and mess it up, and put it back together again until it was perfect, LOL!  ...Linking mesh saves on prims anyway!  ;)

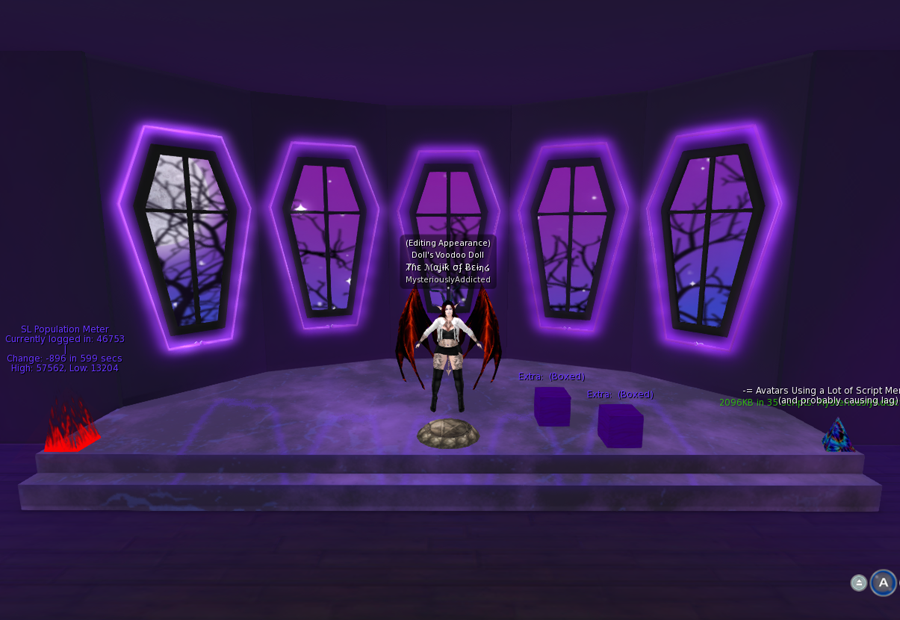
...If all the world's a stage, then this is the stage I set, whenever I dress to present myself to the world.  ;)
When I TP home, I immediately get the prettiest, most gorgeous dressing room view (and wouldn't you want a lovely place to spend a lot of time?)!  ...If all the world's a stage, then this is the stage I set, whenever I dress to present myself to the world.  ;)  

I just l♥ve the shininess and newness, everywhere!

And I did, I decided to just stick with the purple glow.  I can always change it later, but, I mean, why mess with perfection?  xD

...Here you can also see the SL Population meter I got on my Simon Linden Bear Hunt, along with my Inventory Storage Boxing Boxes that I just mentioned earlier (for both me, and my clone), as well as a Lag Meter I somehow picked up in my SL journeys, too.  All important dressing and going out tools, at the ready!  \m/

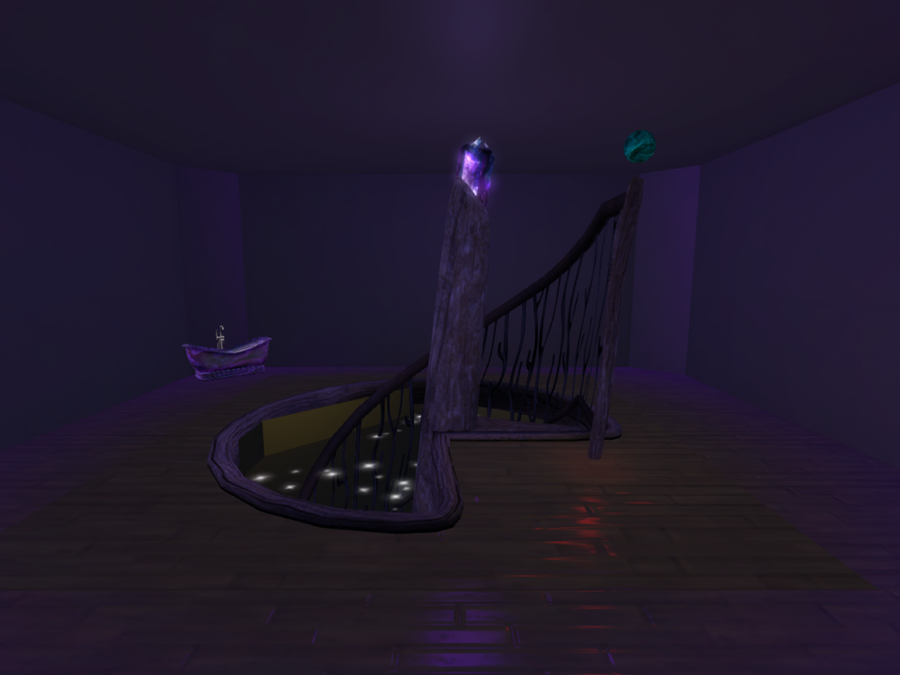
Top of Staircase
This would actually be what my avatar is looking at, while I'm dressing her.  Notice how shiny and reflective the floor is (from even the room that glows beneath it)!  And I did (you might be able to tell), I managed to cut a hole in that beautiful floor and put my dark fae rendition of a staircase in it (more pix on it, in a bit)!  ;)

You can also see the bathtub in the background (more on that in a bit).  The crystal at the top of the stairs, is sit-able, should someone get bored of waiting for me to finally get ready!  xD  The orb on top of the staircase railing is my version of ---> this very handy reminder thingy (I mean, you don't wanna forget important shit, on your way out the door)!  :o

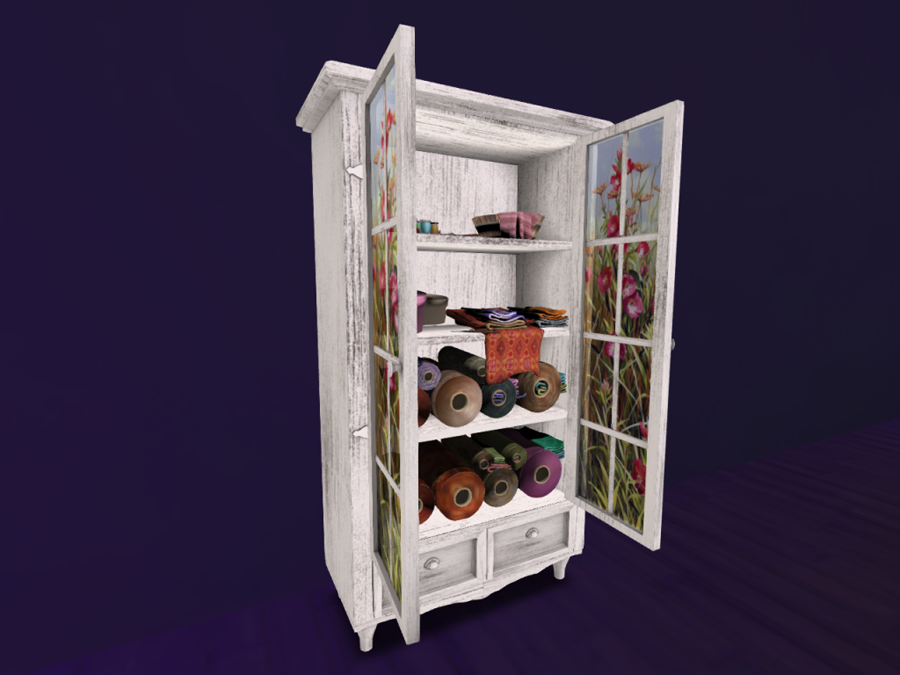
Wardrobe
To the left of the staircase, seen in the previous pic, I have procured one of those wardrobe thingys I admired @ FF, from InshCon and decorated it, strategically (after all, I am making outfits in this room)!  xD

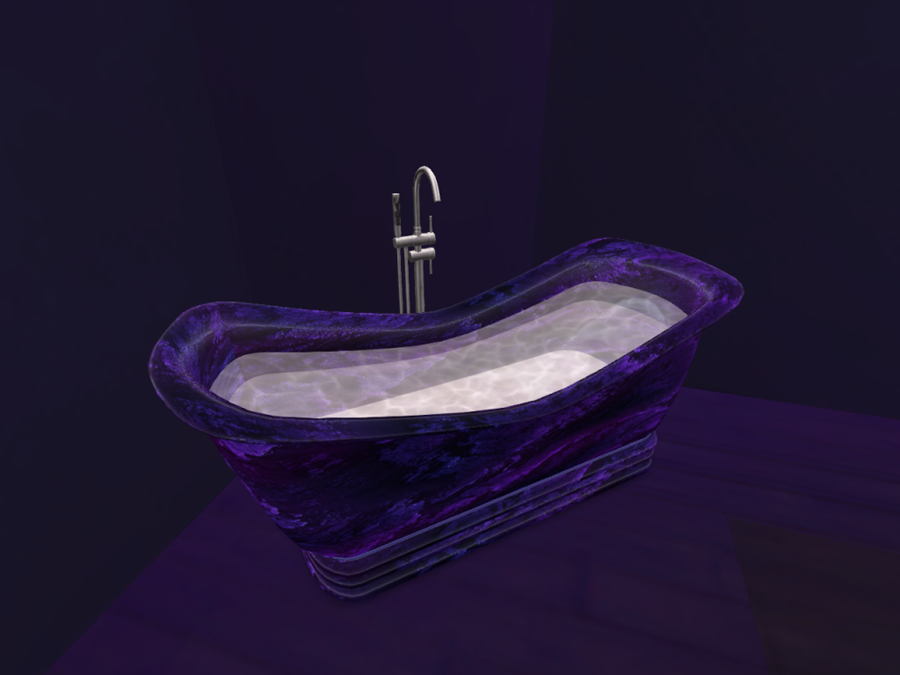
Bathtub
Here, I have the bathtub that I modified the textures of.  It is animated and such.  I love those weekly sales, you can certainly find great things!  :)

It takes the spot of a door, previously found in the corner of this NW Coffin Skybox (and I'll show you where I moved the neon coffin sign, in just a bit) ...Yus, you can do ABSOLUTELY ANYTHING with a texture alignment grid (and Photoshop)!  xD  \m/
Mirror
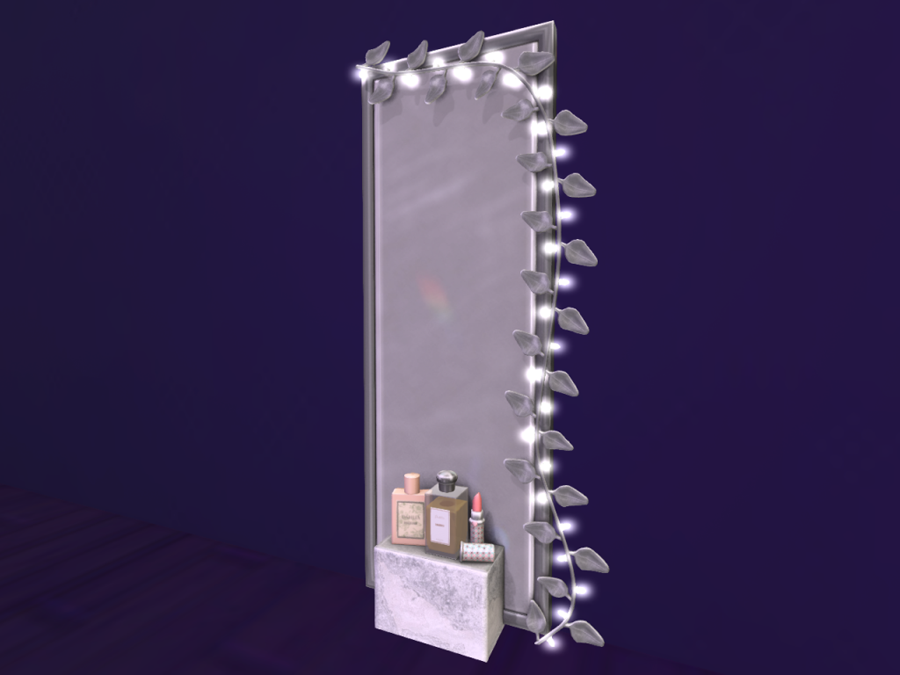
Speaking of great stuff in sales, here's another item, to the right of the staircase.  It's not as awesome as the one I used to have at ground level, where you could sit on it and then be looking at yourself thru the mirror in different poses... But this one does look rather elegant, animates you, and does give you lipstick!  xD

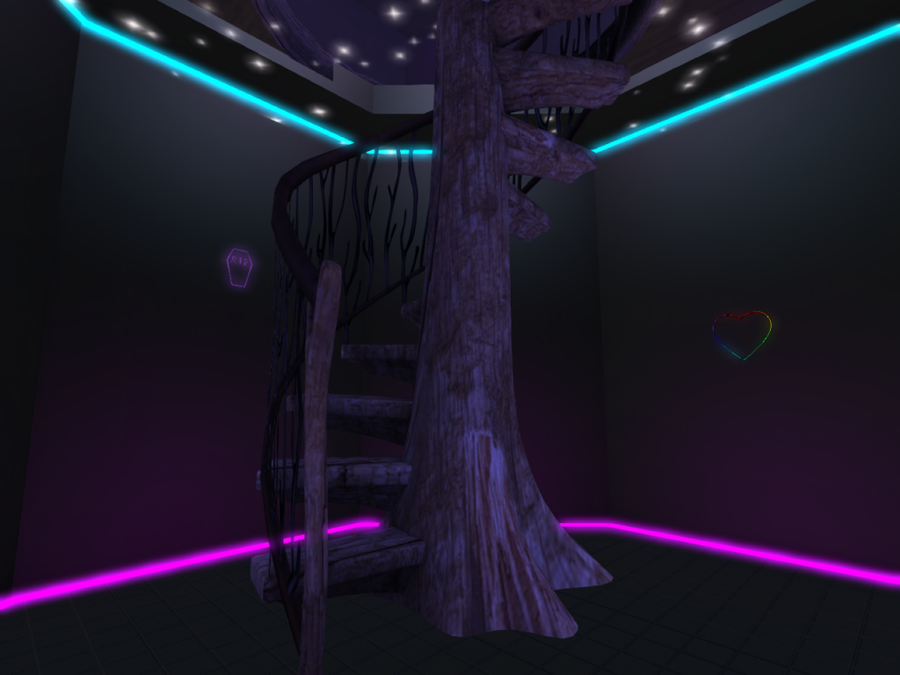
Bottom of Staircase
As you use the stairs, you will see the original skybox's coffin neon, as well as a heart neon I picked up at another sale.  I also designed the phantom, twinkling sky.

Bed
This succubus neon, that tops the Tylar's Treasures bed, is likely my favorite.  Another sales item, that I bet I modified.  This might not be the best upgraded bed, but it sure is pretty (and on prims too).  I also modified the rug with one of Sanna's animated textures.

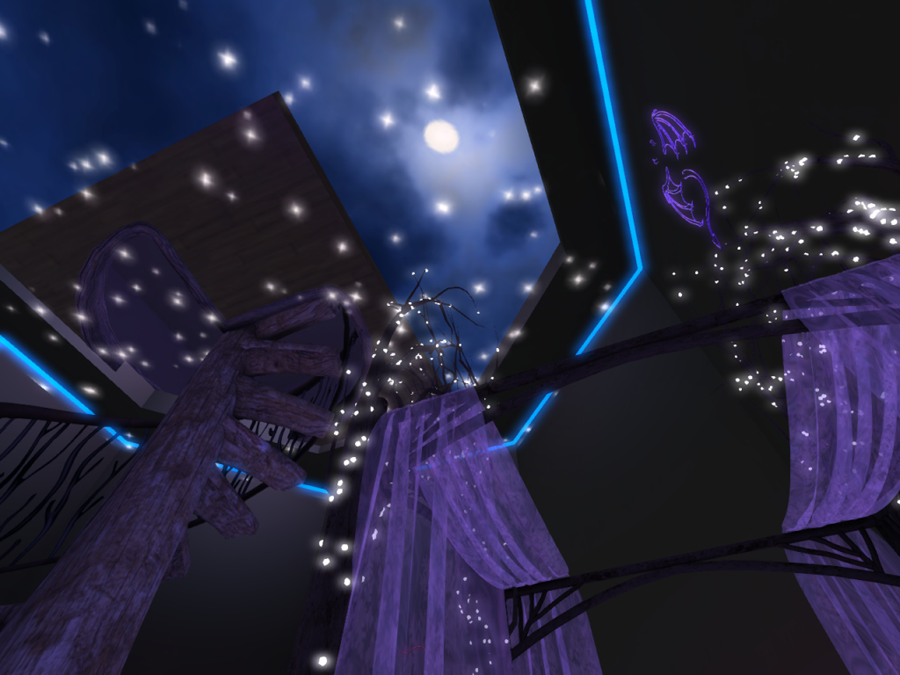
Bedroom Ceiling
...And when lying upon the bed, you can see the celestial view I made, with the ascension into the dressing room (from pieces of my original skybox).  ;)

Altar
Before we move along, I also wanted to show you my antique nightstand, decorated with some witchy things.  Both, were also found in the weekly sales.

...I cannot get over how stunning the shiny floors are!

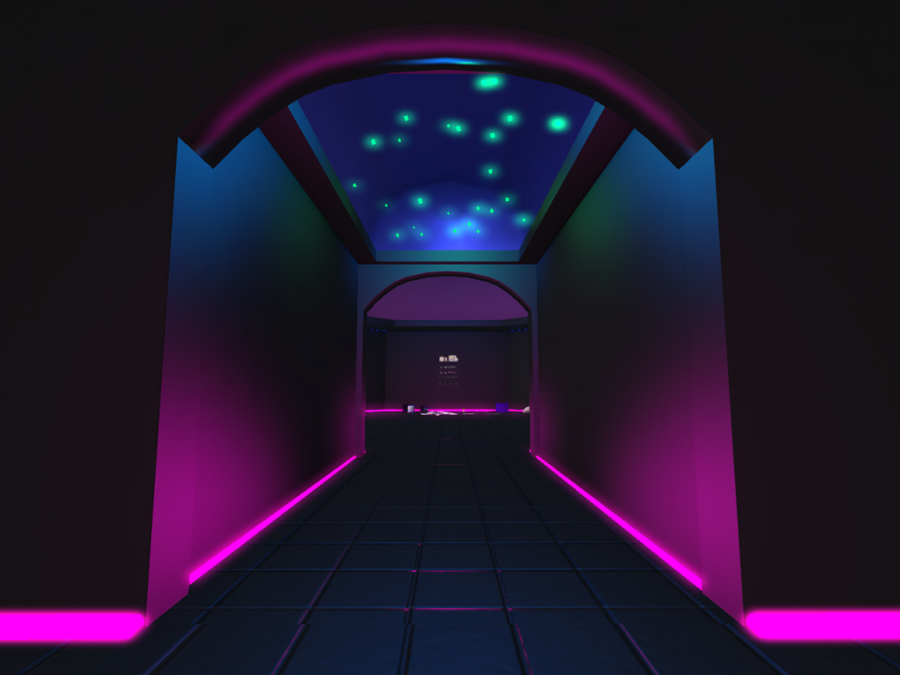
Hallway
And this is the hallway into the next room.  The little stars not only glow, but change color too!  ♥

Living Room
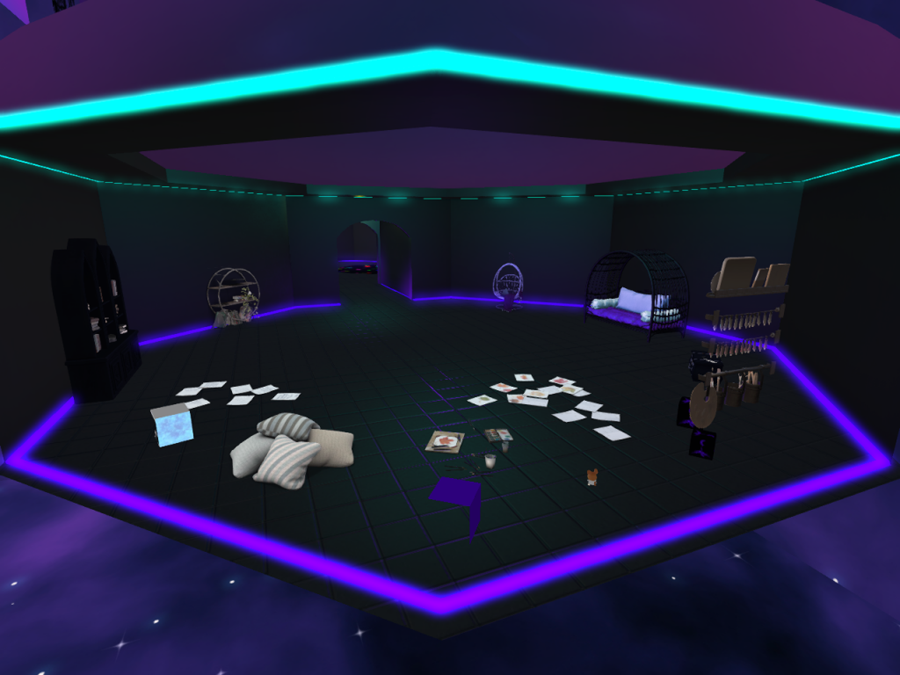
I like to call this final skybox room, the living room.  Here's where I may sit, if I'm working on projects.  And there's plenty of things to entertain guests in here, too!  :)

Paint Clutter
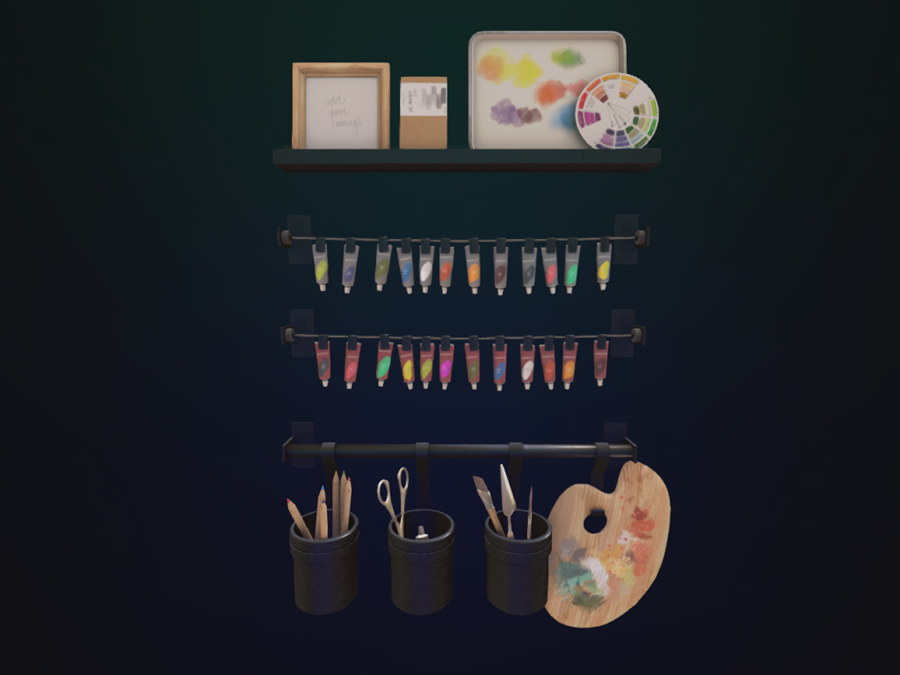
Here's some paint clutter I found at a weekly sale.

Scattered Projects
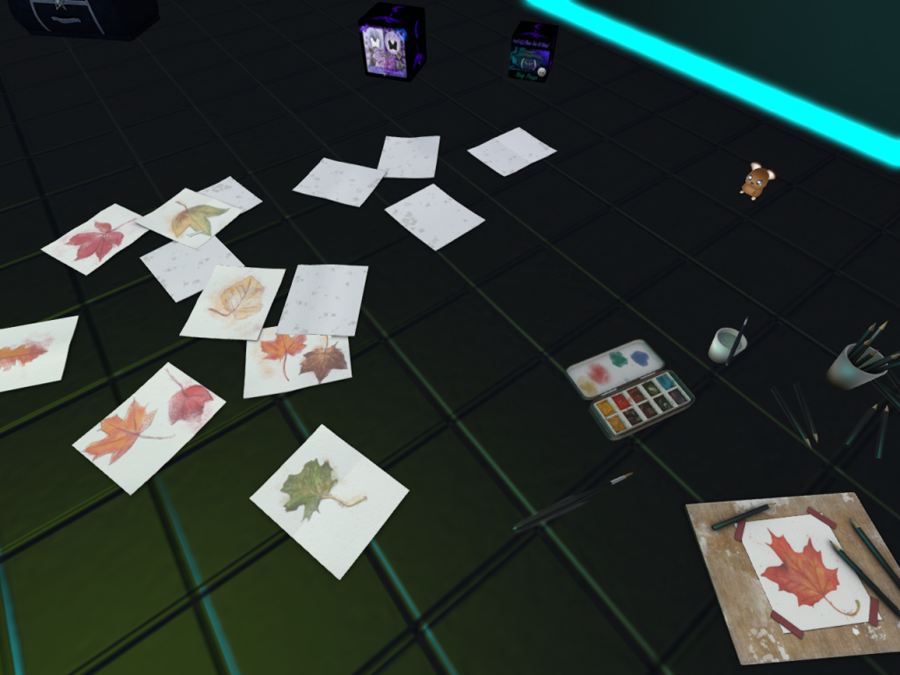
Here's some projects I'll be working on, scattered about.

Bookcase
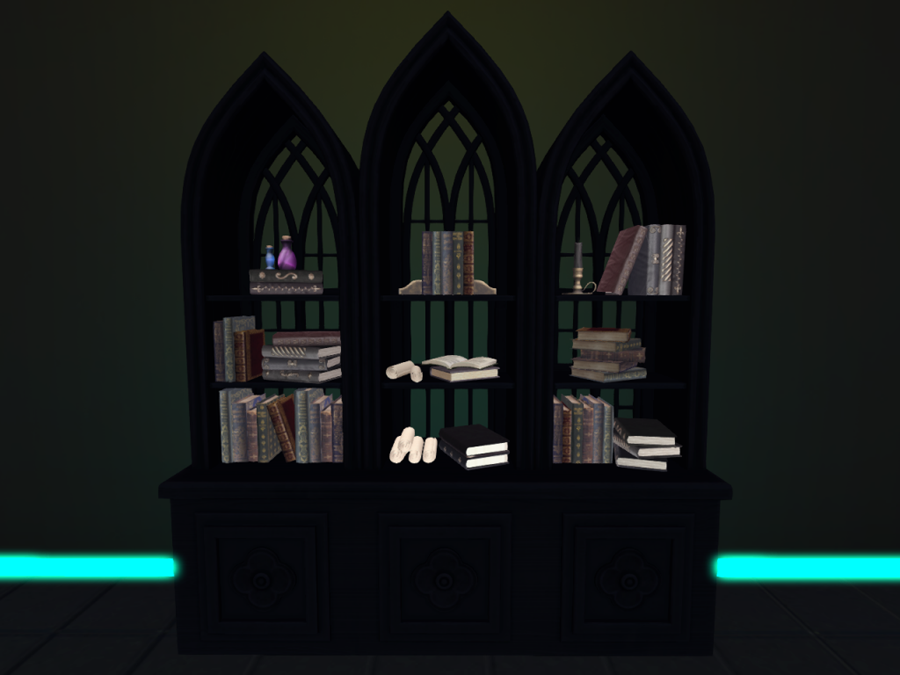
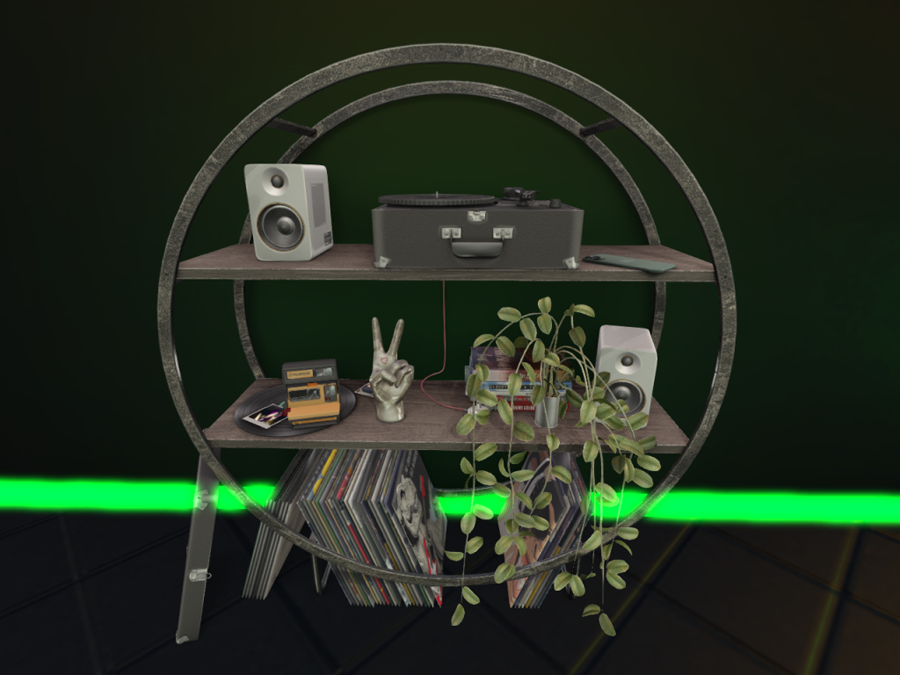
Here's my little Raindale - Elderbrook bookcase, you know, in case I need to research or reference stuffs while I'm working!  xD

Entertainment Center
...The entertainment center I got from Consignment, complete with photos of Bethie and Eddy!  xD

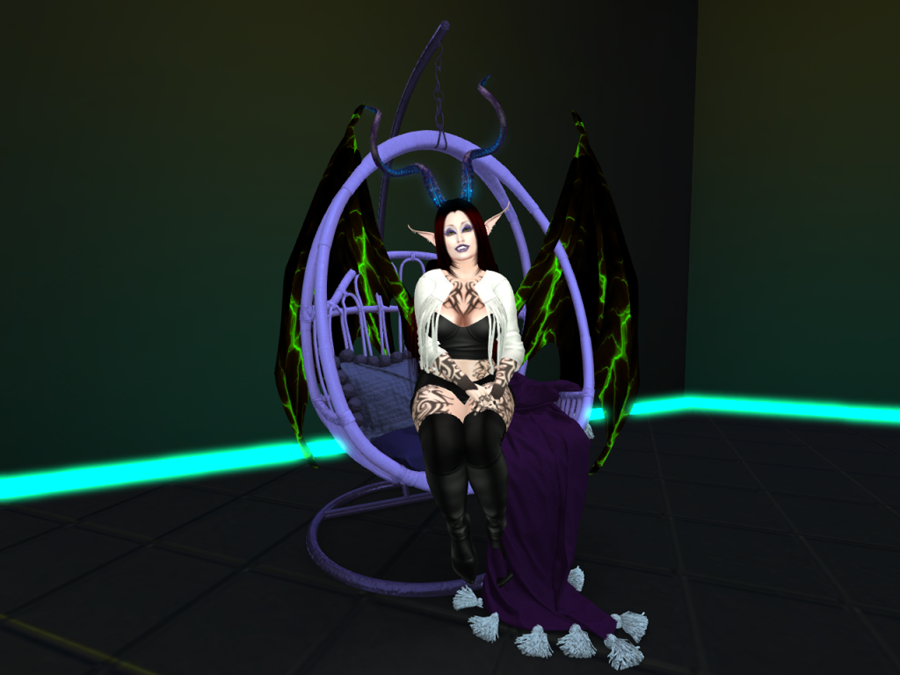
Hanging Chair
My favorite piece of furniture to sit on, "MVCon & Dust Bunny . Gracie Living Room - Hanging Chair - Adult."

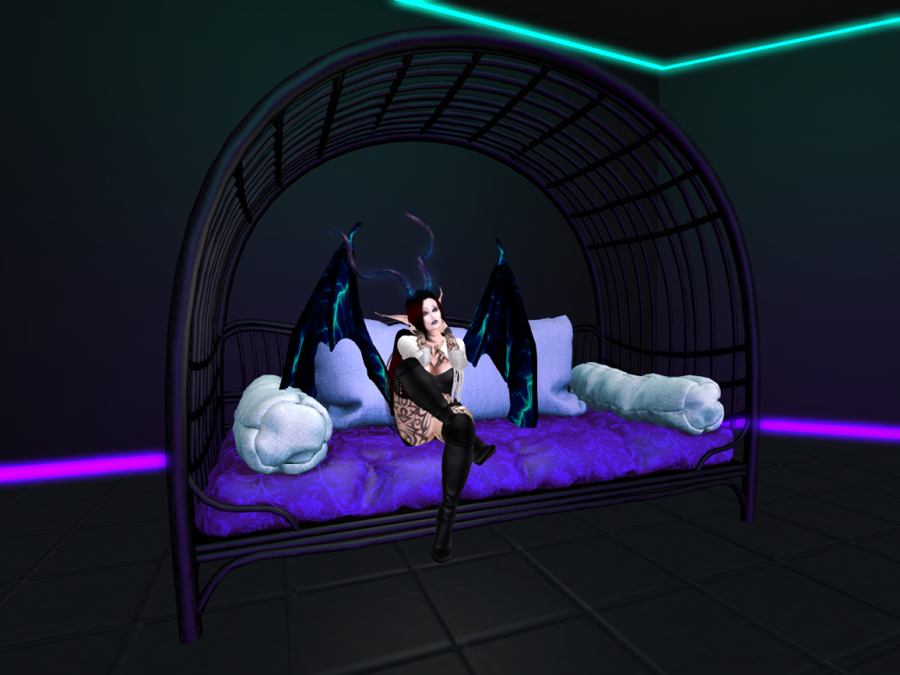
Wicker Couch
...Room for more guests...

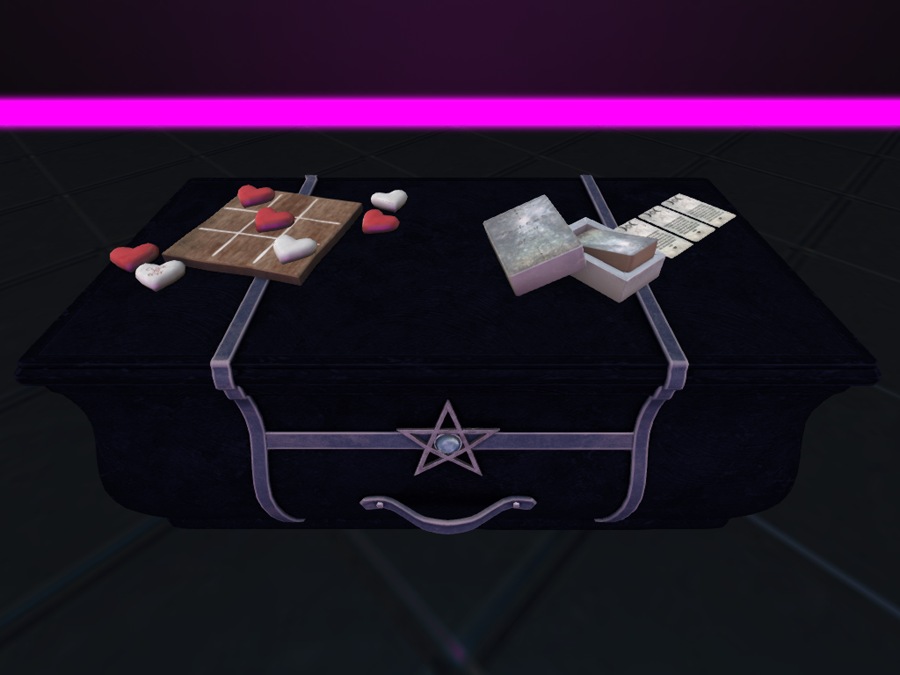
Makeshift Coffee Table
...To perhaps play some tic-tac-toe, or maybe even...

Fortune
...Check your fortune!

Where Dreams Are Made
...But yup!  This is all my skybox now, and it's the place where proud dreams are made!  :D


Anyway, these are the 3 wonderful things I have come up with to improve my SL.  Perhaps they can help inspire you as well!  *:-.,_,.-:*'´`*.¸.*´`'*:-.,_,.-:*Until next time, tho, have yourself a Majikal SL!  ;)  ♥